 Bellingham Roofing
 Building New in Barkley? The Window Install Determines How the House Ages
Barkley sits close enough to Bellingham Bay and the surrounding wetlands that new construction here deals with a specific combination: salt-tinged air off the water, long stretches of driving rain pushed sideways by wind, and a moss season that runs most of the year on anything shaded or north-facing. None of that is dramatic on its own, but it adds up fast on a new build, because a new-construction window is only as good as the flashing and water management installed around it before the siding ever goes on. Get that wrong and you won't see it for two or three years — by then it's hidden behind trim and siding, and the fix means opening up finished work.
This page is about one job specifically: installing new-construction (flanged) windows correctly in a Barkley home during the framing and weather-barrier stage, not swapping out old windows in a finished wall. It's a different trade than replacement work, with different tools, sequencing, and failure points, and it's worth understanding before you hire it out.
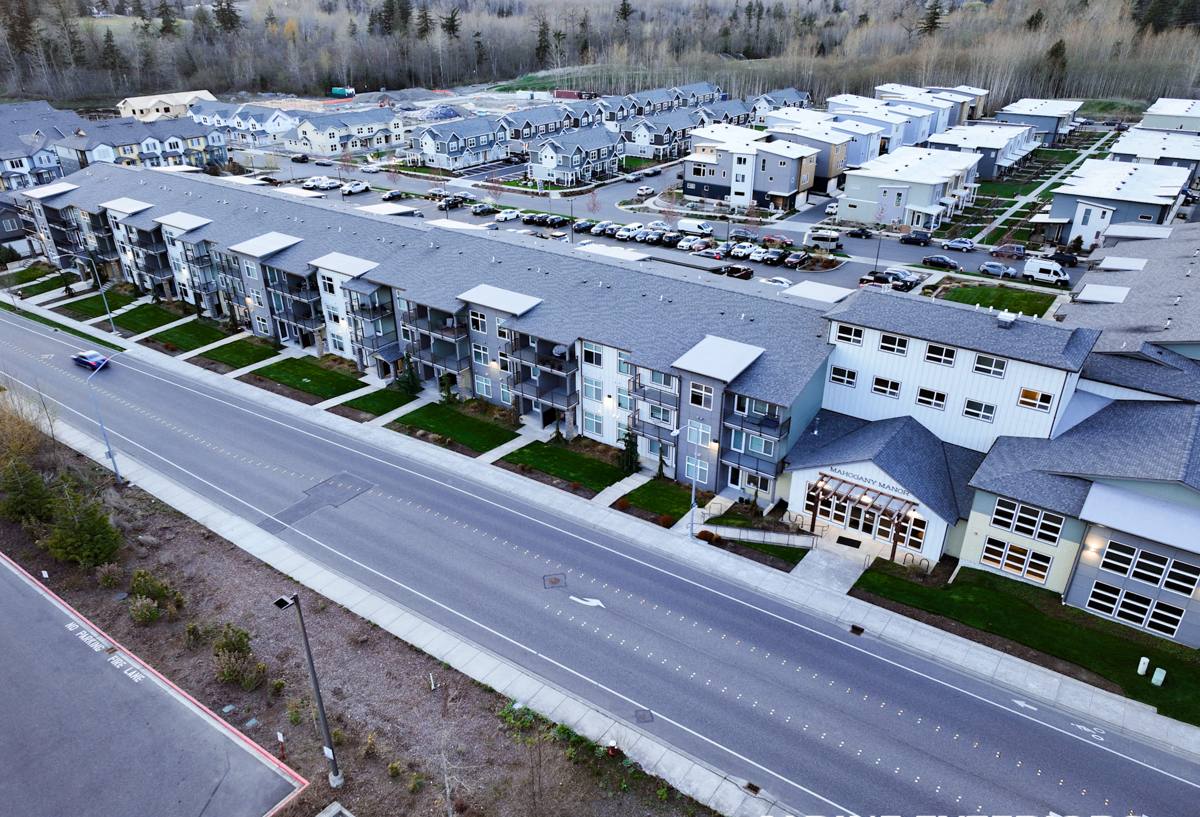
New-Construction vs. Replacement Windows — Why the Distinction Matters
A lot of homeowners and even some builders use "window installation" as one catch-all term, but the two jobs solve different problems and use different hardware.
| Factor | New-Construction (Flanged) Windows | Replacement Windows |
|---|---|---|
| When installed | Before siding, during framing/weather barrier stage | Into an existing, finished wall opening |
| How it attaches | Nailing flange fastens directly to sheathing, then gets flashed and integrated with the WRB | Fits inside the existing frame; no flange to tie into the wall |
| Water management | Full sill pan, flashing tape, and WRB integration built from scratch | Relies on the condition of the existing frame and flashing |
| Best fit | New builds, additions, and full wall reconstructions | Existing homes where siding stays intact |
| Long-term risk if done wrong | Hidden bulk-water intrusion behind siding | Localized leaks around the frame |
On a new build in Barkley, you have one real chance to get the water management right before it's buried under siding and trim for the next 30-plus years. That's the whole argument for hiring a crew that treats this as its own specialty rather than a quick add-on to framing.
What Whatcom County Weather Actually Does to a Window Opening
Wind-Driven Rain
Bellingham doesn't just get rain — a good share of it arrives sideways off the water during winter storms. A window that's only flashed to shed water straight down will let wind-driven rain track sideways and upward under the flange if the laps aren't sequenced correctly. This is the single biggest cause of hidden window leaks in new construction anywhere in this region.
Salt Air Near the Bay
Homes closer to Bellingham Bay deal with airborne salt that accelerates corrosion on unprotected metal fasteners, hinges, and cladding. It's not severe enough to change what products you can use, but it does mean fastener and hardware choice matters more here than it would 50 miles inland.
Extended Moss and Mildew Season
Cool, damp conditions for much of the year mean any spot where water sits or drains slowly — a poorly pitched sill, a gap in the WRB lap — stays wet long enough to grow moss, algae, and mildew instead of drying out between storms. That constant moisture is what eventually works its way into sheathing and framing if the window wasn't sealed correctly from day one.
Temperature Swings and Condensation
Whatcom County isn't extreme cold, but the combination of cool nights and heated interiors during construction and after move-in creates condensation potential at window openings. Proper insulation and air-sealing around the frame — not just water flashing — keeps that moisture where it belongs.
What a Correct New-Construction Window Install Actually Involves
The window unit itself matters, but most of what determines whether a Barkley home stays dry happens in the opening before the window is even set.
- Rough opening check. Confirming the opening is square, level, and sized correctly to the window's actual dimensions — not just the plan dimensions.
- Sill pan flashing. A sloped, fully sealed pan at the bottom of the opening so any water that gets past the window has a path back outside instead of into the wall cavity.
- Back-dam and corner detailing. Small details at the sill corners that stop water from migrating sideways out of the pan — easy to skip, expensive to fix later.
- Setting the window and checking reveal. Shimming and fastening the flange so the window operates correctly and sits flush without racking.
- Flashing tape sequencing. Sill first, then jambs, then head — each layer lapping over the one below it, following proper shingle-lap order so water is always directed outward and down.
- WRB (weather-resistant barrier) integration. Tying the window flashing into the house wrap correctly so the whole wall assembly works as one continuous water-shedding system, not a patchwork.
- Insulation and air-sealing at the perimeter. Filling the gap between frame and rough opening without over-compressing insulation or blocking drainage paths.
- Interior and exterior trim prep. Setting up clean, sealed transitions for whatever trim and siding come next.
Skipping or rushing any one of these steps doesn't usually cause an immediate problem — it causes a problem in year two or three, once the house has been through a couple of real Bellingham winters.
Our Process on a Barkley New-Build
1. Coordinate With Your Builder's Schedule
Window installation has to land at the right moment — after sheathing and WRB are up, before siding starts. We work directly with your builder or general contractor to slot in at the correct stage rather than forcing a rushed sequence.
2. Verify Openings Before We Set Anything
We check every rough opening against the actual window units before installation day, not after. Framing tolerances vary, and catching a sizing or squareness issue before the window arrives saves everyone time.
3. Install Flashing in the Correct Order, Every Time
Sill pan, then jambs, then head, each one lapped correctly — no shortcuts, no skipped steps, regardless of how many windows are on the schedule that day.
4. Document as We Go
On a new build, flashing gets covered by siding within days or weeks. We document the flashing and WRB integration at each opening while it's still visible, so there's a record of what's behind the wall if it's ever needed.
5. Final Check Before Siding Closes It In
A walk-through of every opening before siding crews start, confirming laps, seals, and drainage paths are correct — the last chance to catch anything before it's hidden for good.
Choosing Window Products for a Barkley Build
We install a range of window lines and don't push a single brand — the right choice depends on your builder's specs, your budget, and your home's design. A few things worth weighing regardless of brand:
- Frame material: Vinyl, fiberglass, and clad-wood each handle moisture and maintenance differently — worth discussing given the region's damp climate.
- Glazing package: Double- or triple-pane, and the specific low-E coating, affect both energy performance and condensation resistance.
- Corrosion-resistant hardware: Given the proximity to the bay, we favor fasteners and hardware rated for coastal or high-moisture exposure.
- Manufacturer flashing compatibility: Some window lines have specific flashing requirements to keep the warranty intact — we follow manufacturer instructions on top of best-practice flashing, not instead of it.
- Warranty structure: Understand what's covered by the manufacturer versus what's covered by the installer, since a leak's cause (product defect vs. installation) determines who stands behind it.
A Practical Checklist for Homeowners and Builders
If you're managing a Barkley new build and want to sanity-check your window installer's work, these are reasonable things to ask about or look for:
- Sill pans installed under every window, not just the ones on exposed elevations
- Flashing tape lapped in shingle-style order (sill, jamb, head) at each opening
- WRB properly integrated with the window flashing, not just taped over the top
- Photos or documentation of flashing before siding covers it
- Corrosion-resistant fasteners used, especially on elevations facing the bay
- A final pre-siding walk-through of all openings
- Clear answers on what's covered under the window manufacturer's warranty vs. the installer's workmanship warranty
Why Hire a Crew That Already Works in Barkley
New-construction window flashing isn't complicated in theory, but it's easy to get subtly wrong in ways that only show up after a few Whatcom County winters. A crew that regularly works new builds in and around Bellingham has already seen how the local wind-driven rain patterns, the bay's salt air, and the area's long wet season expose weak flashing details — and adjusts the install accordingly instead of following a generic checklist written for a drier climate. That local repetition is what turns "installed to spec" into "actually holds up here."
If you're planning a new build or addition in Barkley and want the window installation done right the first time, we're happy to talk through your plans and provide a free, no-pressure estimate — just fill out the form below.