 Bellingham Roofing
 Building New in Birch Bay? Your Windows Need to Match the Site
Birch Bay sits right on the water, which means every new build here is fighting a different battle than a house going up ten miles inland. Salt-laden air corrodes hardware and finishes faster than it does elsewhere in Whatcom County. Wind-driven rain off the bay hits walls at angles that flat, still-air installations never have to deal with. And the long gray stretch from fall through spring keeps everything damp long enough for moss and mildew to take hold on anything that doesn't shed water cleanly. New-construction windows give you one real chance to get the water management, flashing, and hardware selection right before siding, trim, and interior finishes close everything in. Get it right at rough-in and the house performs for decades. Get it wrong and you're chasing leaks and stains behind brand-new walls within a few winters.
This page is specifically about new-construction window installation for homes being built in Birch Bay — not retrofit or replacement work, which is a different process with different trade-offs. If you're building here, this is what a correct install looks like and what to expect from a crew that actually knows the site conditions.
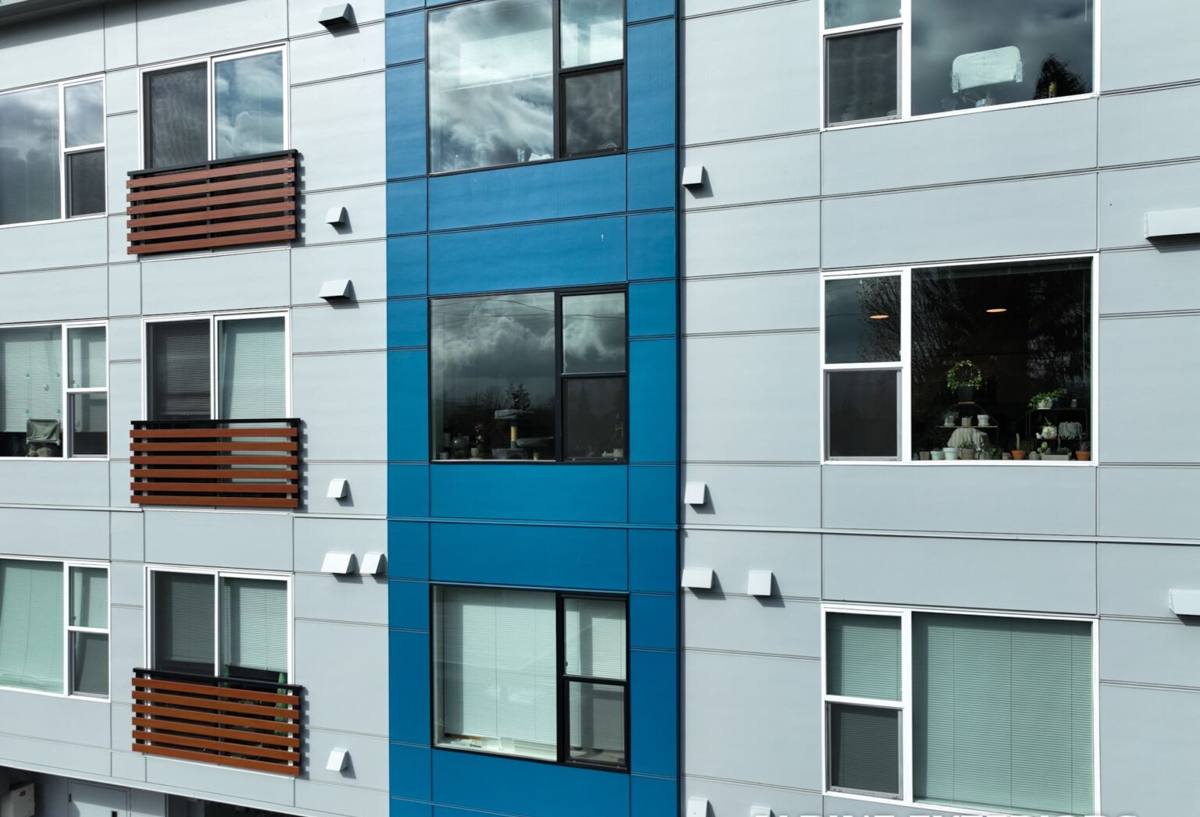
What Birch Bay's Climate Actually Demands
Salt Air and Hardware
Proximity to Birch Bay itself means airborne salt reaches window hardware, cladding fasteners, and exposed metal trim well before it would on a similar house set back from the water. Standard mill-finish aluminum and lower-grade steel hardware corrode visibly within a few seasons in this environment. We spec corrosion-resistant hardware and fasteners as a default on Birch Bay builds, not an upsell — it's a matter of the window still opening smoothly in five years instead of seizing up.
Wind-Driven Rain
Rain that arrives horizontally, pushed by bay winds, tests window flashing in ways that gentle vertical rain never does. Water gets forced up under sills and sideways behind trim if the flashing sequence isn't layered correctly. This is the single biggest point of failure we see traced back to new construction in wind-exposed coastal spots — not bad windows, but flashing installed out of order or with gaps at the laps.
Moss and Sustained Dampness
Whatcom County's long wet season means any horizontal surface — sills, trim ledges, muntin bars on true-divided-lite units — stays damp for extended stretches. That's exactly what moss and mildew need to establish. Detailing that sheds water quickly, rather than holding it against wood or trim, matters more here than in drier parts of the state.
What a Correct New-Construction Window Install Involves
New-construction windows (also called "nail-fin" or flange windows) are set into the rough opening before siding goes on, with the nailing flange integrated into the home's water-resistive barrier (WRB) and flashing system. The sequence matters as much as the window itself:
- Rough opening check. Confirm the opening is square, correctly sized, and that sheathing is sound before the window ever gets set.
- Sill pan flashing. A sloped, sealed sill pan is the first line of defense — it directs any water that gets past the window back outside rather than into the wall cavity. This is non-negotiable on a wind-exposed bay lot.
- Window set and fastening. Level, plumb, square, fastened per manufacturer spec — shims where needed so the frame isn't racked and hardware operates smoothly for the life of the window.
- Flashing tape sequencing. Jambs first, then head flashing lapped over the top nailing fin, integrated shingle-style with the WRB so water always drains down and out, never up and in.
- WRB integration. House wrap laps over the head flashing and tucks correctly at the sides — this is where a lot of rushed jobs go wrong and it's invisible once siding is on.
- Interior and exterior sealant. Backer rod and sealant where specified, leaving the bottom of the exterior sealant joint open (a "weep path") so any trapped moisture can escape instead of pooling behind trim.
Choosing the Right Window for a Bay-Exposed Site
| Factor | Why It Matters in Birch Bay |
|---|---|
| Frame material | Vinyl and fiberglass resist salt corrosion far better than uncoated or lower-grade aluminum; fiberglass holds up best under repeated wind-driven rain exposure over decades |
| Hardware finish | Corrosion-resistant coatings on locks, hinges, and cranks prevent the seizing and pitting that plain finishes show within a few salt-air seasons |
| Glass package | Low-E, dual or triple pane glazing cuts heat loss during Whatcom County's long heating season and reduces interior condensation on cold, damp days |
| Sill design | A sloped sill that sheds water quickly reduces standing moisture and the moss/mildew growth that comes with prolonged dampness |
| Water/air infiltration rating | Higher-rated units resist wind-driven rain intrusion at wind speeds and pressures more common on open bay lots than sheltered inland sites |
We don't push a single brand as "the" answer for every Birch Bay build. The right call depends on your budget, the home's exposure to prevailing wind and rain direction, and whether you're after a modern clean sightline or a more traditional profile. What we won't do is set a window with a weak water-infiltration rating on a wide-open bay-facing wall just to save a few dollars — that decision tends to cost more in repairs than it saves in materials.
Why the Install Sequence Matters More Than the Window Brand
A premium window installed with a skipped sill pan or an out-of-order flashing lap will leak. A mid-range window installed correctly, in the right order, with proper laps and a working weep path, will perform for decades. We say this plainly because it's the most common misunderstanding we run into with new-construction clients: the window purchase gets all the attention, and the flashing detail — the part nobody sees once siding goes up — gets rushed. On a Birch Bay lot exposed to bay winds, that detail is what determines whether the wall behind the window stays dry.
Our Process for Birch Bay New-Construction Projects
1. Plan Review and Site Walk
We review your architect's or builder's window schedule and rough opening dimensions, then walk the site to note prevailing wind exposure, roof overhang depth, and how much direct rain exposure each elevation actually gets — a house closer to open water gets treated differently than one with more tree or terrain shelter.
2. Window Selection Support
We'll talk through frame material, hardware finish, and glazing package against your budget, matching spec to exposure rather than defaulting to a single product line.
3. Coordinated Install Timing
New-construction windows go in at a specific point in the build sequence — after sheathing and WRB, before siding. We coordinate directly with your builder or general contractor so the install happens at the right moment, not rushed to hit an unrelated schedule milestone.
4. Flashing and Sealing to Spec
Sill pan, jamb tape, head flashing, WRB lap, and sealant — done in the sequence above, every opening, every time. This is the part of the job that protects the house long after we've left the site.
5. Walkthrough
Before we move on, we walk the openings with you or your builder so everyone can see the flashing detail before siding covers it up.
Questions Worth Asking Before You Hire a New-Construction Window Crew
- Do they install a sloped sill pan on every opening, not just where a client requests it?
- Can they explain their flashing lap sequence without hesitating?
- Have they worked wind-exposed, water-adjacent sites in Whatcom County before, or only sheltered inland lots?
- Do they coordinate install timing directly with your builder's schedule?
- Will they walk the openings with you before siding closes everything in?
- Do they spec hardware and frame materials for salt-air exposure, or use the same spec everywhere regardless of site?
If a crew can't answer the flashing-sequence question specifically, that's worth noting before you hand them a set of rough openings on a bay-facing new build.
Why Local Experience on Birch Bay Sites Specifically Matters
Bellingham and greater Whatcom County cover a lot of different microclimates — a sheltered lot near the airport behaves nothing like an open bay-facing lot in Birch Bay. A crew that's worked mostly inland jobs may not default to a sloped sill pan or upgraded hardware unless asked, simply because it hasn't been necessary on their other projects. Working Birch Bay regularly means we know which elevations take the worst of the wind-driven rain, how much moss pressure a given roof overhang creates on a north-facing wall, and where salt exposure justifies the upgraded hardware spec versus where it doesn't. That's not something you get from a spec sheet — it comes from having stood on enough Birch Bay lots in January to know what the site is actually up against.
Get a Straightforward Estimate
If you're building in Birch Bay and want new-construction windows specified and installed to hold up against the bay's salt air, wind-driven rain, and long moss season, we're glad to walk the plans and the site with you. The estimate is free, there's no pressure, and you'll get a straight answer about what your specific site needs — just fill out the form below to get started.