 Bellingham Roofing
 Building New in Columbia? The Windows Are Where Most Problems Start
Columbia is one of the older, established residential pockets close to Bellingham's core, and new construction here still runs into the same set of conditions every builder in Whatcom County has to plan around: salt-tinged air moving in off Bellingham Bay, long stretches of driving rain from fall through spring, and a moss and mildew season that never really ends. On a remodel or a re-roof, window problems usually show up as leaks you can trace and fix. On new construction, the mistakes get sealed behind siding and trim before anyone notices, and they don't surface for a few years — right when they're expensive to open back up and correct. New-construction window installation is a one-shot job. Get the flashing, sequencing, and product selection right the first time, or plan on redoing finish work later.
This page covers what a new-construction window install actually needs to get right in a neighborhood like Columbia, what our process looks like on a new build, and why it matters to have a crew that already knows how Bellingham's climate treats window openings.
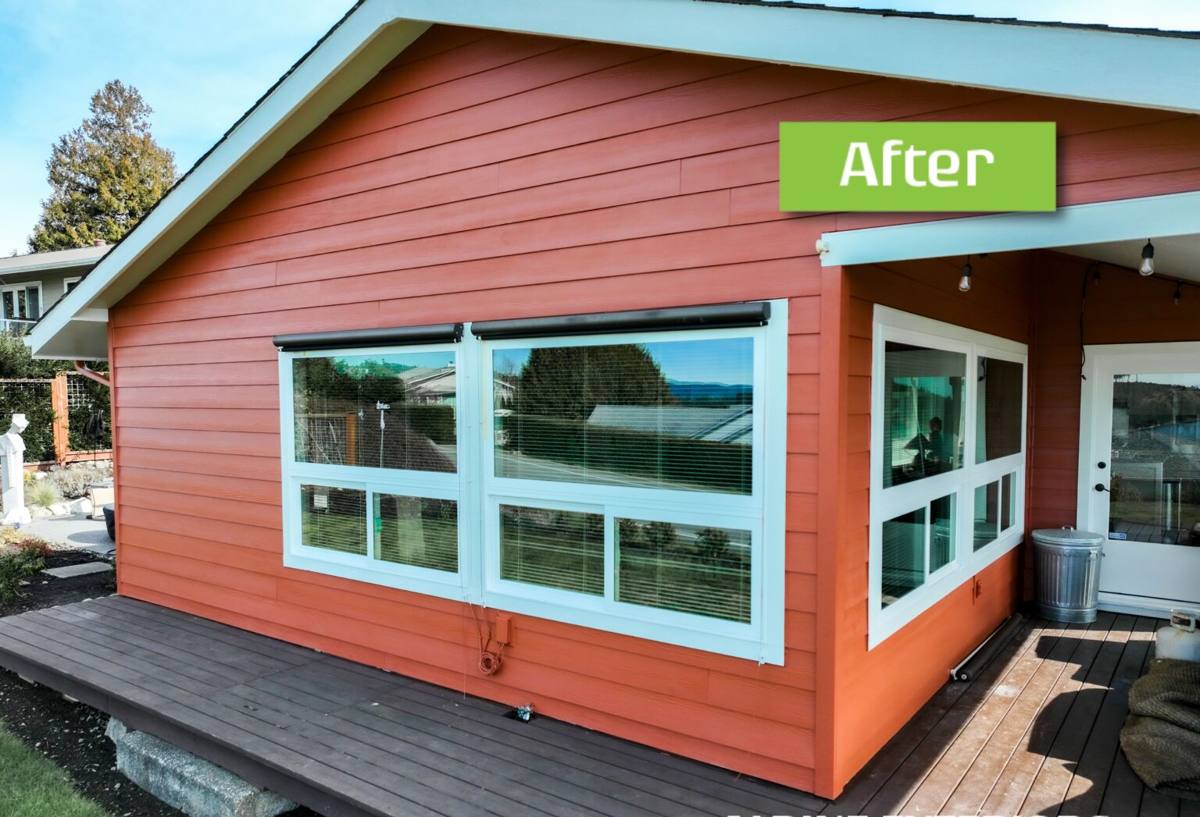
What "New-Construction Windows" Actually Means
There's a real difference between new-construction windows and replacement windows, and it's not just marketing language.
- New-construction windows have a nailing fin (or flange) around the perimeter of the frame. They install into an open rough opening before siding goes on, and the fin gets integrated directly into the wall's water-resistive barrier (WRB) and flashing system.
- Replacement (or "pocket") windows have no nailing fin and are designed to insert into an existing frame with the exterior siding and trim already in place.
On a true new build or an addition in Columbia, you want new-construction units installed correctly into the rough opening — not a replacement window shimmed into a stud bay because it was what was on the truck. Using the wrong window type for the situation is one of the more common corner-cuts we see, and it creates a weak point in the water management plan that no amount of caulk fixes permanently.
Why This Distinction Matters More Here Than in Drier Climates
In a climate with occasional rain, a mediocre flashing detail might go a decade without failing. In Whatcom County, where wind-driven rain off the bay hits west and south-facing walls directly for months at a time, any gap in the water management plan gets tested constantly. New-construction windows, installed with proper flashing sequencing, are built for exactly this — they're just often not installed to take full advantage of that design.
What Columbia Homes Need From a Window Install
| Climate Factor | What It Does to Windows | What the Install Needs |
|---|---|---|
| Wind-driven rain off Bellingham Bay | Pushes water sideways and upward under sills and trim, not just straight down | Sill pans, proper flashing lap order, sealed corners |
| Salt-laden air | Accelerates corrosion on exposed fasteners, hinges, and low-grade hardware | Corrosion-resistant fasteners and hardware near the coast-facing side of the county |
| Extended moss/mildew season | Keeps siding and trim surfaces damp longer, which stresses any gaps in sealant or flashing | Back-ventilated details and correct WRB integration, not sealant relied on alone |
| Temperature swings, condensation | Interior condensation on glass and frames in poorly insulated openings | Proper insulation of the gap between frame and rough opening, low-E glazing sized to orientation |
How a Correct New-Construction Install Works
The window unit itself is only part of the job. The sequence around it is what determines whether the wall stays dry for the next 30-plus years.
1. Rough Opening Prep
The opening gets checked for square, level, and correct dimensions before anything else happens. An opening that's slightly out of square gets shimmed and corrected now — not compensated for later with extra caulk, which is a band-aid, not a fix.
2. Sill Pan Flashing
A sloped sill pan goes in first, so any water that does get past the window has a built-in path back out to the exterior instead of sitting on the sill and working into the framing. This is one of the most commonly skipped steps on production-grade builds, and it's one of the cheapest details to get right while the wall is still open.
3. Window Installation and Fin Integration
The window sets into the pan, gets shimmed level and plumb, and the nailing fin integrates into the WRB using the correct lap order — housewrap or WRB laps over the top flange, side and bottom flashing laps under the WRB above it. Water has to be able to drain down and out at every layer, never get trapped behind one.
4. Sealant and Backer Rod, Not Sealant Alone
Sealant plays a role, but it's the last line of defense, not the primary water management strategy. A correctly flashed window would still shed the majority of water even with imperfect sealant; a window relying on sealant as its main defense will eventually fail once that sealant ages, shrinks, or gets missed on a touch-up.
5. Interior Insulation of the Gap
The gap between the window frame and rough opening gets filled with a low-expansion foam or backer material sized for the gap — not packed tight with standard foam, which can bow the frame and cause the sash to bind or fail to seal properly.
6. Exterior Trim and Final Weatherproofing
Trim goes on last, over completed flashing, with its own top flashing where called for so water sheds away from the window head rather than running down behind the casing.
Choosing Window Products for This Area
Product selection matters, but not in the way marketing brochures suggest. For Bellingham and Whatcom County new construction, the practical considerations are:
- Frame material — vinyl, fiberglass, and clad-wood units all perform reasonably well here when installed correctly; the bigger differentiator is installation quality, not brand.
- Glazing package — a good low-E, dual-pane (or triple-pane for extra performance) unit sized to the wall's orientation helps with both energy cost and interior condensation control, which matters given our damp shoulder seasons.
- Hardware and fasteners — anything within a few miles of the bay benefits from corrosion-resistant hardware; it's a small cost difference with a real payoff over the life of the house.
- Warranty structure — read what's actually covered. Many manufacturer warranties exclude installation-related failures entirely, which is exactly why the installer's workmanship warranty matters as much as the product's.
We don't push customers toward one specific brand across every job. We spec windows based on the wall assembly, orientation, and budget, and we're straightforward about trade-offs — some products cost less up front but demand more maintenance attention over time in a wet coastal climate; others cost more but need less babysitting.
Our Process on a Columbia New-Construction Job
- Plan review — we look at window schedules, wall sections, and orientation before the framing stage locks anything in, so flashing details are planned, not improvised.
- Rough opening verification — every opening gets checked before window delivery to catch framing issues while they're still cheap to fix.
- Sill pan and flashing install — done to the sequence above, on every opening, regardless of orientation or perceived exposure.
- Window set and fin integration — leveled, shimmed, and fastened to manufacturer spec, integrated into the WRB in the correct lap order.
- Interior and exterior finish coordination — we work with the general contractor or framing crew's schedule so trim, siding, and interior finish trades aren't waiting on us, or covering up work before it's checked.
- Final walkthrough — operation, seals, and trim get checked before we consider the opening closed out.
Pre-Drywall Checklist We Actually Use
- Rough openings square, level, and correctly sized before window delivery
- Sill pans installed and sloped to drain outward
- WRB lap order correct at head, jambs, and sill
- Nailing fin fully fastened per manufacturer schedule
- Gap between frame and rough opening insulated without overpacking
- Sash operates smoothly with no binding before trim goes on
- Exterior flashing and trim details closed out before siding starts
Why It Matters to Hire a Crew Already Working in Columbia
Window installation on new construction isn't a specialty most general contractors sub out to a dedicated crew every time — sometimes it's rolled into framing, sometimes into siding, and quality varies a lot depending on who happened to be on site that week. A crew that regularly works new construction in and around Bellingham, including neighborhoods like Columbia, has already seen how these details hold up locally over multiple wet seasons — not just on paper, but on houses a few blocks away. That matters more here than in a dry climate, where a flashing shortcut might never get tested.
It also means fewer surprises coordinating with your builder's schedule. We know how framing, siding, and window trades typically sequence on builds in this area, and we plan around that instead of holding up your project or rushing details to keep pace.
What This Job Typically Involves Cost-Wise
Costs on new-construction window installation vary by unit count, size, glazing package, and how the framing crew leaves the openings. Broadly, budget for the window units themselves, the labor to properly flash and install each opening, and any upgrades to hardware or glazing warranted by orientation or exposure. We'll walk through actual numbers for your specific plan set rather than quoting a blind per-window price that doesn't reflect your job.
If you're building new in Columbia or elsewhere in Bellingham and want the window openings done right the first time, we're happy to take a look at your plans and walk the site. Estimates are free and there's no pressure — just a straight read on what your build needs.