 Bellingham Roofing
 Building New in Edgemoor Means Building for the Bay
Edgemoor sits close enough to Bellingham Bay and the wooded shoreline south of downtown that the weather it deals with is different from a subdivision a few miles inland. Homes here catch salt-laden air off the water, get pounded by wind-driven rain during the fall and winter storm cycle, and sit under a tree canopy that keeps everything shaded and damp for months at a time. If you're framing a new home or a major addition in this part of Bellingham, the window package you choose and how it's installed matters more here than it would in a drier, more exposed part of Whatcom County.
New construction gives you one real advantage over a remodel: you get to build the water management system right the first time, before siding, trim, and drywall lock everything in place. Get it right at this stage and the windows should give you decades of trouble-free service. Get it wrong, and you're chasing rot and interior staining behind walls that are expensive to open back up.
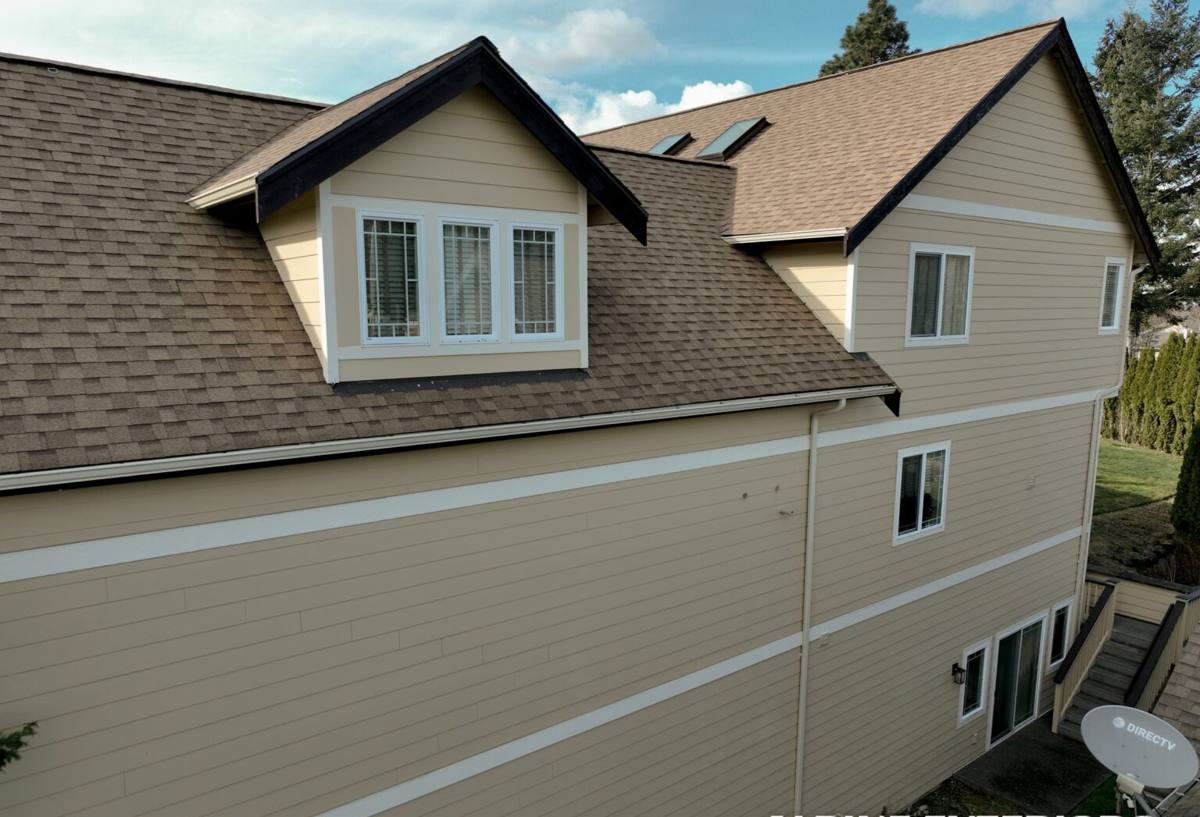
New-Construction Windows Are a Different Job Than Replacement
A lot of homeowners assume window installation is window installation. It isn't. New-construction windows have a nailing fin around the perimeter and go in before the exterior finish is applied, which means the flashing, house wrap, and window are all integrated into one continuous water barrier. Replacement (or "pocket") windows go into an existing opening with the old frame left in place and rely on sealant and the existing wall assembly to keep water out.
On a new build, we're not working around existing trim or trying to match old dimensions — we're setting the window as part of the rough opening itself, which means the rough opening size, shim placement, and flashing sequence all have to be right before the window ever goes in. This is the stage where a crew that's careless, or just unfamiliar with how wet this part of Bellingham gets, causes problems that won't show up for two or three winters.
What "Correct" Actually Looks Like
- Rough openings framed square, plumb, and sized to the window manufacturer's spec — not "close enough"
- Sill pan flashing installed before the window ever touches the opening
- Weather-resistive barrier (house wrap) integrated with the flashing in the correct shingle-lap sequence, not just taped over the top
- Windows shimmed and fastened without racking the frame, which affects both operation and long-term seal integrity
- Interior and exterior sealant used at the right points — not everywhere, since over-sealing can trap moisture instead of shedding it
Salt Air, Driving Rain, and Moss Season — Designing Around All Three
Whatcom County's marine climate throws three separate challenges at a window assembly, and Edgemoor's proximity to the bay puts homes closer to at least two of them.
Salt air accelerates corrosion on unprotected metal fasteners, hardware, and some aluminum components. It's a slower threat than water intrusion, but it shows up over years as pitting on hinges, cranks, and screws if the wrong hardware finish was used.
Driving rain off the water means wind-driven water hits window assemblies at an angle, not just straight down. That's exactly the scenario sill pan flashing and proper head flashing are designed for — water that gets past the glass and frame needs somewhere to drain back out, not a path into the wall cavity.
Moss season is really a shorthand for the long stretch of low sun, high humidity, and shaded, damp conditions that runs from fall through spring under Bellingham's tree cover. It doesn't attack windows directly the way it does a roof, but it's a sign of how long window assemblies stay wet in this climate. Any gap in flashing or sealant has more time to do damage here than it would somewhere drier, because the wall assembly rarely gets a chance to fully dry out between storms.
Choosing a Window Line and Glass Package
There's no single "best" window for every new build — the right choice depends on the home's exposure, budget, and how much maintenance the owner wants to take on. For a bay-adjacent, tree-shaded property, we usually steer the conversation toward frame materials and glass packages that hold up with minimal upkeep, since nobody wants to be re-caulking or refinishing wood sash every couple of years in this climate.
| Frame Material | Moisture & Salt-Air Behavior | Maintenance | Typical Cost Position |
|---|---|---|---|
| Vinyl | Won't corrode or rot; performs well in coastal air | Low — occasional cleaning | Lower |
| Fiberglass | Very stable, resists swelling and warping in damp conditions | Low | Mid to upper-mid |
| Aluminum-clad wood | Good exterior protection, but any breach in the cladding exposes wood beneath to rot | Higher — depends on cladding integrity | Upper |
| Bare aluminum | Prone to condensation and, over time, corrosion in salt air unless well-finished | Moderate | Lower to mid |
Glass packages matter as much as the frame. In a shaded, humid neighborhood like Edgemoor, double or triple glazing with a good low-E coating helps control both heat loss and interior condensation on cold, damp mornings — a common complaint in homes with underperforming glass. We size glazing to the specific elevation of the home; a west-facing wall catching afternoon weather off the water doesn't need the same spec as a sheltered north wall under trees.
Flashing and Water Management: Where Jobs Actually Fail or Succeed
Almost every window failure we get called out to inspect in older Bellingham homes traces back to flashing, not the window itself. On new construction we control this from the start:
- Sill pan flashing set first, sloped slightly to drain any incidental water back to the exterior
- Window set into the pan and fastened per manufacturer spec
- Side flashing installed over the nailing fin, lapped correctly with the sill flashing
- Head flashing installed last, lapped over the house wrap above the window so water sheds down and over, never behind
- House wrap integrated in shingle-fashion over all flashing before siding goes on
This sequence sounds simple written out, but it's the single most common place new-construction jobs go wrong when a crew is rushing or unfamiliar with best practice. In a climate that stays wet as long as Bellingham's does, a flashing mistake doesn't dry out on its own — it just sits there working on the framing behind it.
Our Process on an Edgemoor New Build
We approach a new-construction window job in stages, working closely with the framer and whoever's managing the build schedule:
1. Plan Review and Rough Opening Verification
Before any window arrives on site, we check rough openings against the actual window schedule — not the plans as drawn, since field framing sometimes drifts from spec.
2. Flashing and Weather Barrier Installation
Sill pans, side flashing, and house wrap integration happen before a single window is set, in the sequence described above.
3. Setting and Fastening
Each window is set plumb and square, shimmed to manufacturer tolerance, and fastened without racking the frame — a rushed or overtightened fastening schedule is a common cause of operational problems down the road.
4. Head Flashing and Final Weather Barrier Integration
Head flashing goes on last and gets lapped correctly with the house wrap above, completing the drainage path before siding covers everything up.
5. Final Check and Operation Test
Every window gets opened, closed, and locked before we sign off, and we walk the exterior looking for anything that needs adjustment while it's still easy to fix.
Mistakes We Watch For on New Builds
- Rough openings cut oversized "to be safe," leaving excessive shim gaps that compromise the seal
- House wrap taped over the nailing fin instead of properly lapped — this traps water rather than shedding it
- Sealant used as a substitute for proper flashing rather than a backup to it
- Windows fastened too tightly, bowing the frame and causing hardware to bind
- Sill pan flashing skipped entirely on the assumption that head flashing alone is enough
- Hardware and fasteners chosen without accounting for salt-air exposure this close to the bay
Permits, Energy Code, and Inspections
New-construction window work in the City of Bellingham and unincorporated Whatcom County falls under Washington State's energy code, which sets minimum performance requirements for glazing depending on the home's overall energy path. Window specs get checked against these requirements at permit review, and flashing and rough opening work is typically part of what a building inspector looks at before siding goes on. Building to spec the first time avoids the cost and delay of opening walls back up to fix something an inspector flags.
Why Hire a Crew That Already Works Edgemoor
A crew that's worked this neighborhood before already knows what kind of exposure a given lot has — whether it's catching direct wind off the bay, sitting in deep shade under mature trees, or somewhere in between — and adjusts the flashing detail, glass package, and hardware choice accordingly instead of applying a one-size-fits-all approach. We've built our process around Whatcom County's wet, mild-but-punishing marine climate, not a drier region's standard details borrowed from a manufacturer's generic install guide. That local familiarity is what keeps a new-construction window job from becoming a warranty callback three winters later.
If you're framing a new home or addition in Edgemoor and want a window package built correctly from the rough opening out, we're happy to take a look at your plans and walk the site. Reach out for a free, no-pressure estimate — there's a form below to get started.