 Bellingham Roofing
 Building New in Happy Valley Means Getting Windows Right the First Time
Happy Valley sits close enough to Bellingham Bay and the surrounding hills that new homes here take on weather most inland builds never deal with: salt-laden air drifting up from the water, wind-driven rain that hits walls sideways instead of straight down, and a wet season long enough to grow moss on anything that stays damp too long. When you're framing a new home or a major addition, the window installation isn't a cosmetic step you fix later — it's part of the building envelope. Get the flashing, the glazing, and the fastening wrong at rough-in, and you're looking at rot, air leaks, or failed seals inside of a few winters, hidden behind finished walls where nobody will see the problem until it's expensive.
New-construction windows are a different job than replacement windows, and that difference matters more in a climate like Whatcom County's than almost anywhere else in the state. This page covers what that job actually involves for a Happy Valley build, and why the installation sequence matters as much as the window itself.
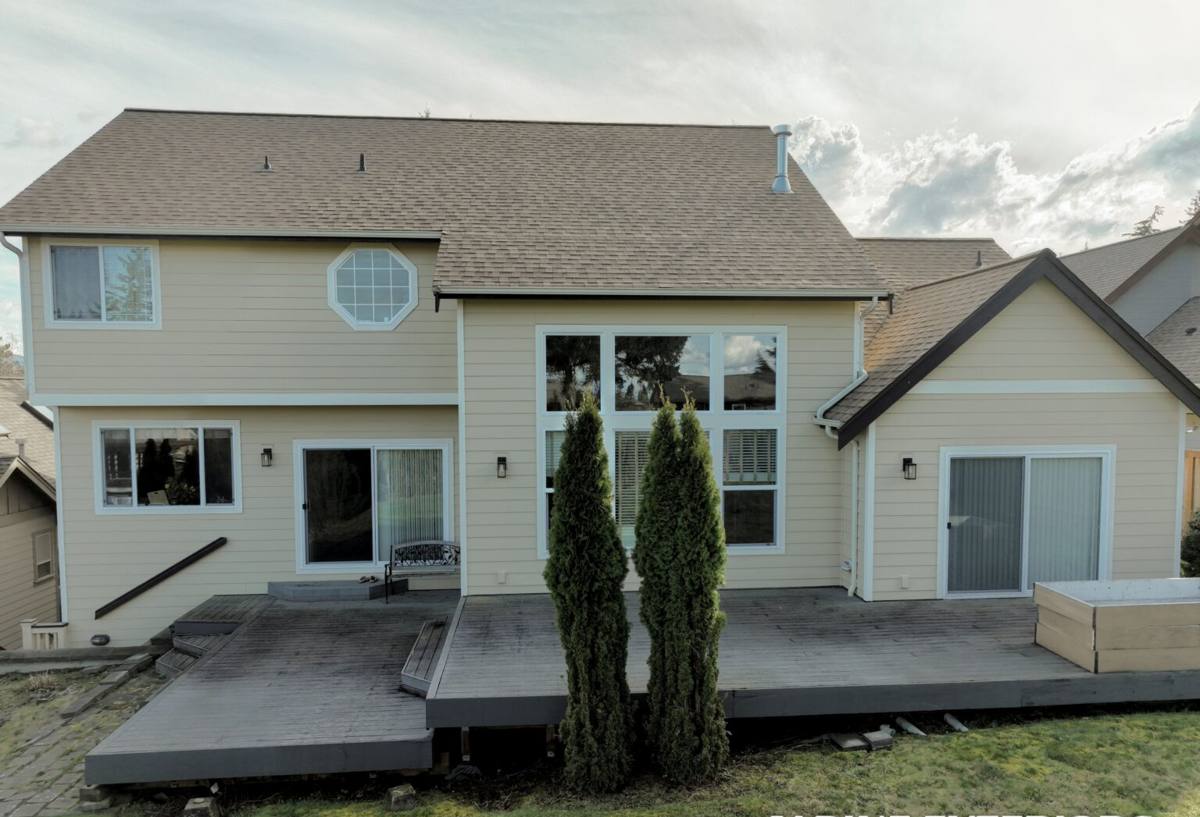
New-Construction vs. Replacement: Why the Distinction Matters Here
A new-construction window has a nailing fin around its perimeter, meant to be integrated directly into the wall's water-resistive barrier (WRB) and flashing system before siding goes on. A replacement or "pocket" window, by contrast, gets inserted into an existing opening and relies on the old frame and existing flashing already being sound. On a new build, you have the rare advantage of controlling every layer — sheathing, WRB, flashing tape, window, and siding — in the correct order, with nothing hidden or compromised by prior work.
That's an advantage worth taking seriously in this climate. Bellingham's rain doesn't fall politely; storms off the Strait push moisture sideways into wall assemblies, and a rough opening that isn't flashed correctly will find every weakness over time. Doing it right at framing stage is far cheaper than diagnosing a leak behind finished drywall two years later.
What "Correct" Actually Means at Rough-In
- Sill pan flashing installed under the window, sloped to shed any water that gets past the sash back outside the wall
- WRB (housewrap or building paper) lapped shingle-style so upper layers overlap lower ones — water always sheds downward and outward
- Flashing tape at the jambs and head integrated with the WRB, not just stuck over the nailing fin
- A back dam or end dams at the sill so water can't migrate sideways into the wall cavity
- Proper shimming so the frame isn't racked or bowed, which stresses seals and causes premature sash wear
- Fasteners set per the manufacturer's schedule — under- or over-driven nails both compromise the seal
What Salt Air, Driving Rain, and Moss Season Do to a New Home's Windows
Three regional conditions shape how we approach new-construction windows in and around Happy Valley:
Salt Air
Proximity to Bellingham Bay means a low but steady exposure to salt-laden moisture in the air. Over years, that accelerates corrosion on unprotected fasteners, hinges, and hardware, and it's harder on certain metal finishes than an inland home would ever experience. It's not severe enough to rule out any one window type, but it's a real factor in hardware and fastener selection.
Driving Rain
Storms coming off the water routinely arrive at an angle, not straight down. That means water pressure against the wall assembly is higher than a simple "keep the rain out" mindset accounts for — which is exactly why sill pans, back dams, and correctly lapped flashing aren't optional extras. They're the difference between a wall that sheds water and one that eventually traps it.
Moss Season
Whatcom County's long wet stretch, roughly fall through spring, keeps north-facing and shaded surfaces damp for extended periods. Moss and algae growth on trim, cladding, and sills isn't just cosmetic — sustained moisture against wood trim or sills is a slow path to rot if the assembly beneath isn't properly protected. New-construction detailing that keeps water moving away from the frame matters even more under a tree canopy or on a shaded elevation, both common around Happy Valley's terrain.
Choosing Window Materials and Glazing for This Climate
There's no single "right" window brand for every project — the right choice depends on your budget, the home's design, and how exposed a given elevation is to weather. What we focus on is matching material and glazing to real conditions rather than defaulting to whatever's cheapest to install.
| Material | Strengths | Trade-offs in This Climate |
|---|---|---|
| Vinyl | Cost-effective, low maintenance, good thermal performance | Can expand/contract with temperature swings; quality varies widely by manufacturer |
| Fiberglass | Very stable dimensionally, strong, holds paint well, low expansion | Higher upfront cost than vinyl |
| Wood-clad | Warm interior appearance, good insulator | Exterior cladding must be fully sealed at all joints or moisture will find the wood beneath |
| Aluminum | Strong, slim sightlines | Conducts heat and cold readily; needs a thermal break for this climate, and bare aluminum hardware is more exposed to salt-air corrosion |
For glazing, a dual-pane, low-E unit with argon fill is the practical baseline for most Happy Valley builds — it balances energy performance with condensation resistance during our damp winters. Homes with more direct water or wind exposure, such as upper floors facing open sightlines toward the bay, sometimes warrant upgraded weatherstripping or higher-performance glass packages. We'll walk you through what your specific elevations actually need rather than upselling glass you don't.
Our New-Construction Window Installation Process
- Rough opening check — verify the opening is square, plumb, and sized correctly before the window ever arrives on site
- Sill pan and flashing install — sloped pan flashing, back-dammed, integrated with the WRB before the window goes in
- Window set and shim — leveled, squared, and shimmed so the frame isn't under stress and the sash operates smoothly for years
- Fastening per manufacturer spec — correct fastener type, spacing, and depth through the nailing fin
- Head and jamb flashing — taped and lapped so water sheds outward at every layer, working from the bottom up
- Interior air seal — low-expansion foam or backer rod and sealant at the interior gap, which does as much for comfort and energy performance as the glass itself
- Final inspection and documentation — photos of the flashing details before siding covers them, so there's a record of what's behind the wall
That last step matters more than it sounds. Once siding goes up, the flashing work is invisible — which is exactly why it needs to be done right the first time, and why we document it before it disappears.
What Drives Cost on a New-Construction Window Job
| Factor | Why It Matters |
|---|---|
| Number and size of openings | More and larger windows mean more flashing detail work, not just more units |
| Material (vinyl, fiberglass, wood-clad, aluminum) | Material cost and long-term maintenance both scale with this choice |
| Glazing package | Standard dual-pane low-E vs. upgraded performance glass for exposed elevations |
| Elevation exposure | Sides facing prevailing wind and rain may warrant extra flashing detail or upgraded weatherstripping |
| Site access and building stage timing | Coordinating install with framing and siding schedules affects labor efficiency |
| Trim and finish work | Interior and exterior trim detailing adds labor beyond the window unit itself |
We don't quote a flat per-window number without seeing the plans and the site — a shaded, rain-exposed north wall and a sheltered south wall on the same house can reasonably call for different detailing.
A Checklist for Homeowners and Builders Working With Us
- Bring us into the conversation at framing stage, not after siding is already up
- Have your window schedule (sizes, quantities, egress requirements) ready or let us help you build one from the plans
- Ask to see the flashing sequence before it's covered — we're glad to walk through it or photograph it for your records
- Confirm which elevations face prevailing wind and rain so we can flag any that need extra attention
- Clarify warranty terms in writing — both the manufacturer's product warranty and our installation workmanship coverage
- Ask about maintenance expectations up front, especially for wood-clad or aluminum units in a salt-air, moss-prone environment
Why Local Experience in Happy Valley Actually Matters
A window installer who mostly works dry inland climates can still hang a window level and square — but leveling and squaring isn't what fails first in Bellingham. What fails is flashing detail that wasn't built for driving rain, or trim that wasn't given a way to dry out during a long wet season. Crews who work Whatcom County regularly build habits around those specifics: they don't skip the back dam because "it probably won't rain that hard," because here, it does. They know which elevations in a neighborhood like Happy Valley tend to catch the worst of the weather based on terrain and tree cover, and they detail accordingly.
That local pattern recognition doesn't show up on a spec sheet, but it shows up ten years later in which houses have dry, solid window openings and which ones don't.
Maintaining New-Construction Windows Through Moss Season and Beyond
Even a correctly installed window benefits from basic upkeep in this climate. Clear debris and moss from sills and trim before it holds moisture against the frame. Check exterior caulking annually, since UV and freeze-thaw cycles slowly break down sealant over years. Keep gutters and downspouts clear so roof runoff isn't dumping extra water directly onto upper-floor window heads. None of this is complicated, but a few minutes a season goes a long way toward protecting the installation underneath.
If you're framing a new home or addition in Happy Valley and want windows detailed for what this climate actually does — not just installed to a generic spec — we're happy to walk your plans with you. Fill out the form below for a free, no-pressure estimate.